Mazes have been a popular form of entertainment for centuries, and they’re a fun and challenging activity for people of all ages. Whether you’re looking to create a maze for a school project, a party game, or just for fun, there are several steps you can follow to create a great maze.
Step 1: Choose a Design
The first step in creating a maze is to choose a design. There are many different types of mazes you can create, from simple designs with a few twists and turns to complex designs that are almost impossible to solve.
Maze shapes can vary greatly in their design and complexity. Here are some of the most common maze shapes you may encounter:
- Rectangular mazes: These are the most traditional type of mazes and usually have a simple rectangular shape.
- Circular mazes: These mazes are designed in a circular shape and can be either simple or complex.
- Triangular mazes: These mazes are designed in a triangular shape and can have either straight or curved walls.
- Hexagonal mazes: These mazes are designed in a hexagonal shape and can be either simple or complex.
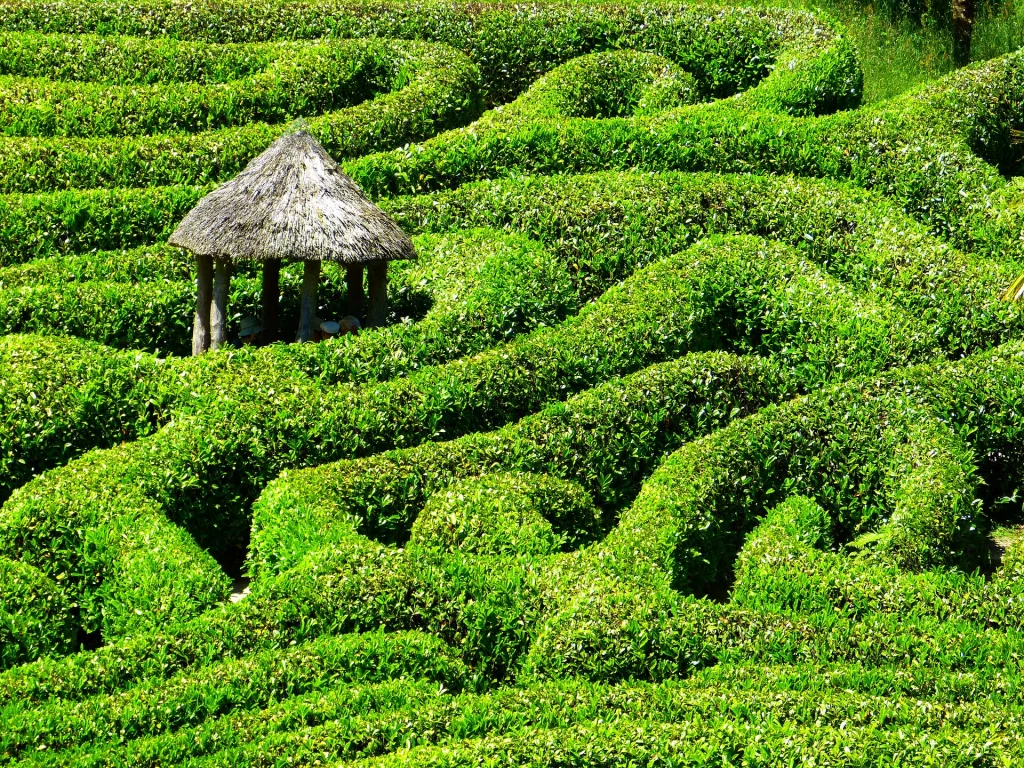
- Labyrinth mazes: These mazes are designed in a complex, intricate pattern that may include multiple loops, twists, and turns.
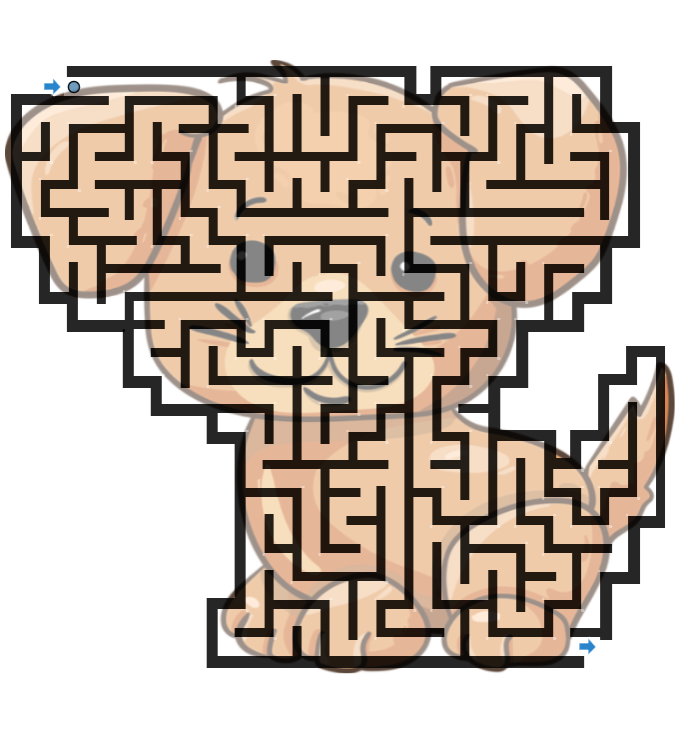
- Picture mazes: These mazes are designed on top of a picture and follow the picture shape.
Once you’ve chosen a type of maze, you can start sketching out a basic design. You can do this by hand or any image editing software, or a free online maze generator.
Step 2: Determine the Size
The next step is to determine the size of your maze. This will depend on where you plan to create it and how many people you want to be able to use it at once.
A maze that’s too small will be too easy to solve, while a maze that’s too large may be too difficult or time-consuming to complete.
Step 3: Draw the Walls
Once you’ve determined the size of your maze, you can start drawing the walls. You can do this by hand or using software, depending on your preference.
If you’re drawing the walls by hand, you can use a ruler and a pencil to create straight lines, or you can freehand the design if you prefer a more organic look. If you’re using software, you can use the line tool to draw straight lines or the curve tool to create curved walls.
When drawing the walls, it’s important to make sure they’re spaced far enough apart to allow people to walk through the maze without feeling claustrophobic. You’ll also want to make sure the walls are tall enough to prevent people from looking over them and cheating.

Step 4: Create Dead Ends and Forks
Once you’ve drawn the walls, you can start adding dead ends and forks. Dead ends are areas of the maze that lead to a dead end, while forks are areas where the path splits in two or more directions.
You can create dead ends and forks by simply drawing additional walls that lead to nowhere or split the path. You can also use special features like trapdoors, hidden passages, or secret rooms to add more complexity to your maze.